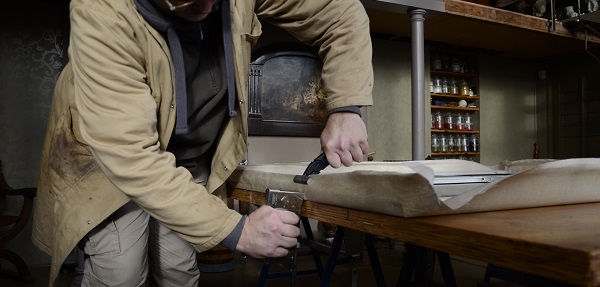
Although canvas as a support for painting was already common in Ancient Egypt, its use as a support for large sized oil paintings was introduced in Italy not earlier than by the end of the fifteenth century. Compared to a wooden panel, which was the most common support for paintings, the use of canvas allowed the painters to work on this modern large sized, light weight and easy to transport support. This caused a revolution in large-size portraits and history paintings, because from the sixteenth and early seventeenth century on the production of these works of art switched almost exclusively to the modernistic canvas. The best quality fine linen was produced in West-Flanders, until today that has not changed. The quality and thread density of the linen used for the paintings of the Conterfeyter series is very comparable to what was used in seventeenth century painting studios. Even the classic sizing and priming methods are very much the same.
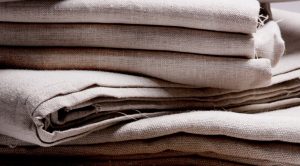
In the centuries prior to the invention of the wedged stretcher frames which we are used to now, the canvases were usually sized and primed on one oversized frame and subsequently painted on a second one. After the linen was cut from the roll using a broad overlap, it was attached to the first frame using rope or carpet nails. Nowadays we are blessed with stainless steel staples and a staple gun, causing far less damage to the fabric.
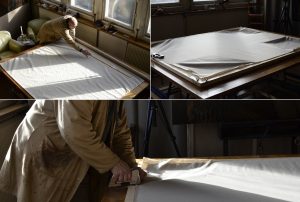
After the stretching process is completed, the raw linen fabric is ready to be sized. For that purpose dried animal glue should slowly be dissolved in warm water using a double (bain-marie) boiler. The strength and adhesive quality of the glue can easily be tested between two fingers.

The still warm glue should subsequently be applied to the linen surface with a brush.To stabilise the moist sensitive back side of the canvas, in the past centuries painters used to cover that part with wax. The invention of poly vinyl acetate has made that process easier, faster and much more comfortable to apply.
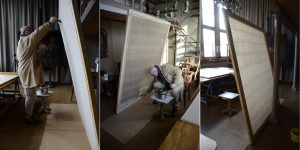
The next morning, after drying up, many of the loose fibres of the linen have caused the texture of the canvas to feel like sanding paper. And that is exactly the tool we need to get rid of that roughness, as well as the knots and other irregularities disturbing the surface. In the old times this job was done with pumice stone. Holding the canvas against the light one can clearly observe a specific phenomenon called cusping. Because of the typical curtain shape this effect is also called ‘guirlande’. This local distortion at the edges of the sized fabric occurs when the unprepared canvas is stretched more at the points were it was attached to the frame.
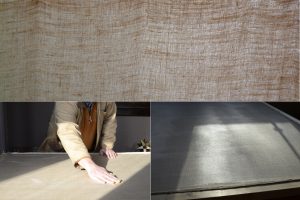
Now that the linen is properly sized, the canvas should be taken off the larger frame by easily removing all the staples with a staple lifter. After the canvas has come off the first frame, it should immediately be re-stretched on the second and final stretcher. To obtain a tightly stretched surface, this time it is vital to use polstering pliers while tacking the stainless steel staples to the stretcher. For the convenience of possible future restorations, a wide bed of the linen will be folded up and stapled to the back side of the canvas stretcher.

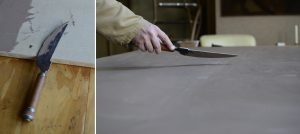
In the seventeenth century the majority of the Dutch painters applied a double oil ground after the sizing was finished. Oil grounds were usually made of palette leftovers thickened up with natural chalk and diluted with turpentine oil. Unlike we are used to nowadays, this oil ground should certainly not be applied with a brush, but instead with a special priming knife, filling up and smoothening the surface of the linen fabric. After the first coat will have dried up thoroughly, which takes at least a week, the entire surface should be sanded again, subsequently followed by the second and final coat of the same oil ground, which should again be applied with the priming knife. This last coat also needs at least one week drying time before the actual painting can finally commence.
Photo’s courtesy Anar Rasulov

